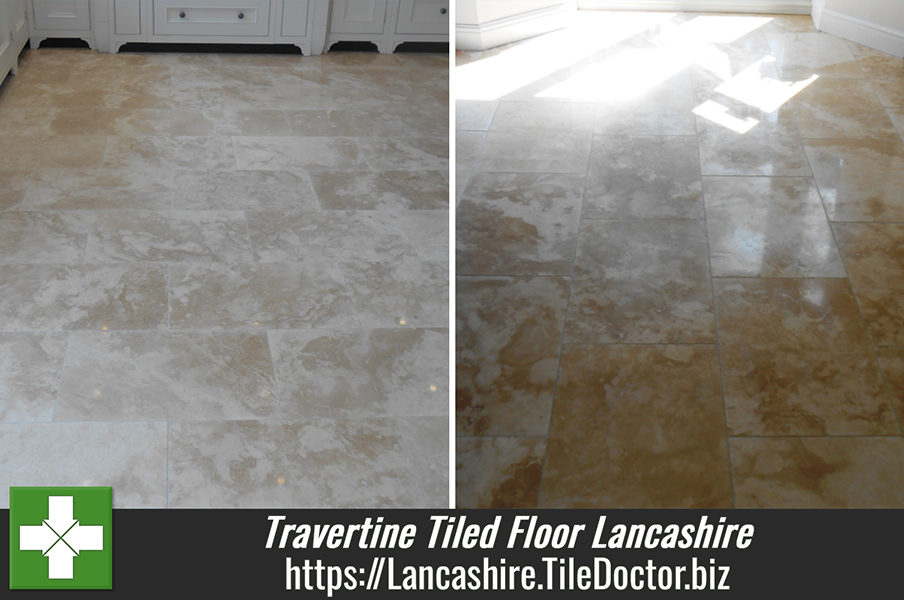
This honed Travertine tiled floor was newly laid by a professional tiler in South Lancaster, unfortunately however the tiler mistook some white lines in the stone as resin post installation and tried very hard to remove them damaging the finish of the stone (it’s quite common for new stone to have this issue). The white marks turned out be in the stone itself and not on the surface, to complicate things further the Travertine had been laid onto electric under floor heating so it would have been tricky to lift and replace the tiles without compromising the expensive heating matts placed underneath the stone.
The customer was left in a dilemma as the suppliers of the stone were blaming the tiler and the tiler the supplier, the only option was to call out Tile Doctor. On inspection and after conducting two cleaning tests we managed to get a result with our burnishing system with no white lines showing after the Travertine had dried out.

Stripping and Re-Polishing Travertine
To get the Travertine looking new again we had to strip back the surface of the tile using a set of Diamond Encrusted burnishing pads fitted to a rotary machine. You start with a coarse stripper pad with water to strip back the surface and then move onto the finer pads to polish the floor. We also use some grinding discs to remove scratches left behind by the kitchen fitters who were clumsy when fitting the kitchen.
Once I was happy that all the problems had been resolved with the Travertine tile we resealed it using two coats of Tile Doctor Colour Grow to get a nice overall finish for the floor. Colour grow is a great sealer to use on natural stone as now only will it offer good stain protection it brings out the colours in the stone.


Nice one Russell, loads of character in that travertine tile, good job you were available to sort it out or the customer would of probably been stuck with a new but dull floor.