Black and Red Dorchester Pattern Quarry Tiled Floor Renovation Caton
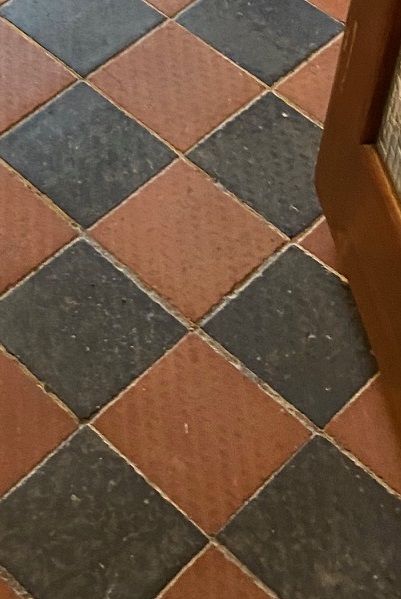
A first glance you might not notice much improvement in this Quarry tiled floor that we recently worked on at a Victorian house in Caton near Lancaster. However, look closer and you will see that a pattern has been worn into the tiles from a previous covering most likely carpet underlay.
The sealer on the floor was also due to be replaced so having surveyed the floor on my initial visit I worked out a plan to renovate the Quarry tiles which would include deep cleaning the tile and grout, removing the underlay patterning, and then re-sealing the tiles to keep them protected.
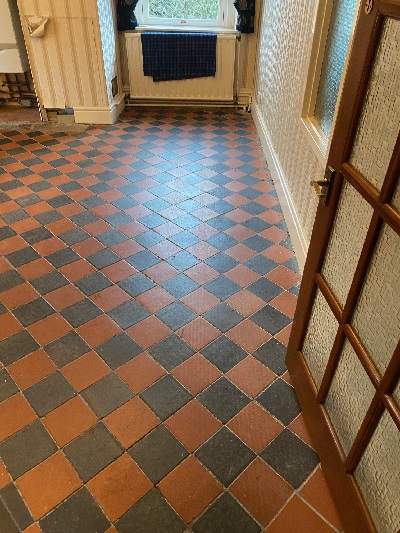
Deep Cleaning a Quarry Tiled Floor
To start neat Tile Doctor Oxy-Gel was applied to the floor and left to soak in for twenty minutes giving it time to break down soils etc. Then a 200-grit Diamond burnishing pad was attached to floor buffing machine which was a heavily weighted for extra grip and run a few times over the tiles. These pads are very aggressive and ideal for cleaning off the pattern left by the carpet underlay.
Oxy-Gel was chosen for this as being in Gel form its more manageable and holds itself against the clay Quarry tile for longer allowing the product work to a much harder, whereas a liquid cleaner generally soaks away into the clay and underneath meaning you need to use more water to remove it later resulting in longer drying times.
After the gel has been scrubbed into the tiles (no water needed at this stage) a wet vacuum Is used to remove the soiling generated during the process. After this initial clean a small amount of water is added to the floor and we go over with the same 200-grit diamond pad extracting the water off the tiles within five minutes of it being applied.
With the Oxy-Gel removed the floor was given and acid rinse using Tile Doctor Acid Gel using the same process as before but this time using a Black scrubbing pad and only allowing it to dwell for 10 minutes. Acidic products are quicker acting on clay and so need less dwell time for it to work. Water was then added and after brushing it in to the floor it was removed using the wet vacuum within five minutes. I sometimes do this job twice as this is the last of the deep cleaning process and will ensure the tiles are free from any debris and dirt before we allow the clay tiles to dry out before sealing.
Before finishing for the day, I took time to apply matching grout where it was missing which was mainly around the edges and sponged off the excess. With this done the floor was left to dry off overnight.
Sealing Quarry Tiles
The next day we conducted a damp test, but despite the use of Gel cleaning products it was still too damp to seal. My client however wanted to seal how the tiles would look with the sealer we were planning to use which was Tile Doctor X-Tra Seal, so to do this three tiles were force dried using an Air blower and a Heat Gun.
With the sealer approved the floor was left for two days so it could fully dry out, the damp test showed a much better reading and we were able to crack on applying the sealer to the whole floor. Only one coat of X-Tra Seal was needed, it’s a thick Oil based product that soaks into the pores of the tile protecting it from within, it also fully breathable so ideal for old floors like this one that don’t have a damp proof membrane. Lastly it contains a colour enhancing formula that in this case improved the deep Red and dark Black colours in the tile.

Lastly for aftercare I recommended Tile Doctor Neutral Tile Cleaner which is a gentle but effective tile and grout cleaning product. You have to be careful when choosing an cleaning product for use on sealed tiles as many are bleach based and simply too strong.
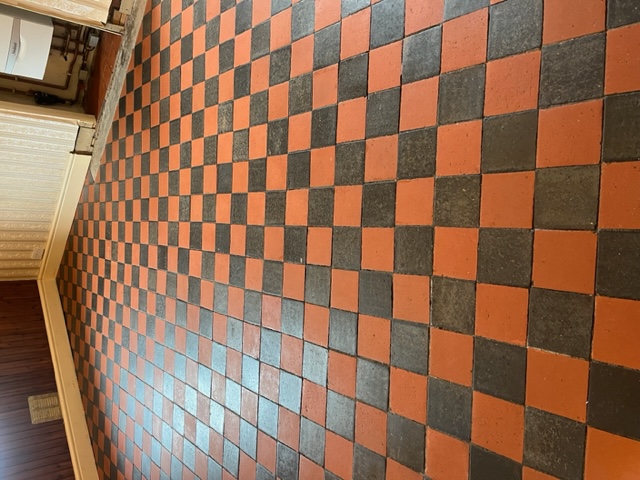
Professional Restoration of a Quarry Tiled Lobby in Lancashire
Black and Red Dorchester Pattern Quarry Tiled Floor Renovation Caton Read More »


