Work by Category

Russell-Taylor-Lancashire-Tile-Doctor

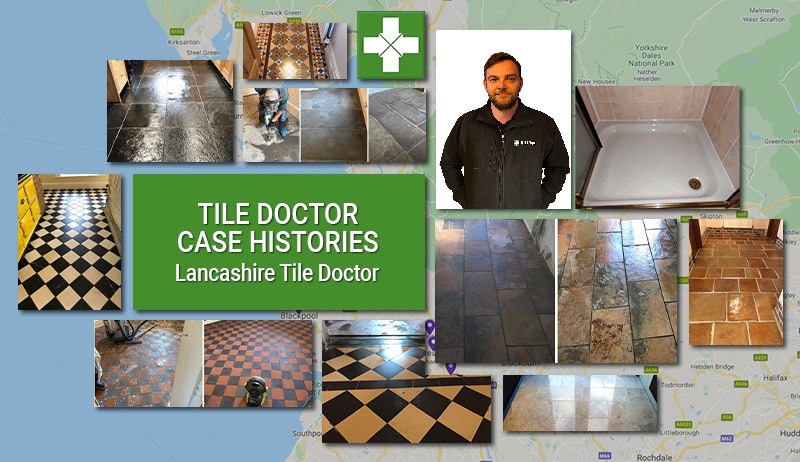
Welcome to my Work History archive where you will find detailed examples of Tile, Grout and Stone Cleaning and Renovation work carried out through Lancashire.

To make things easier to find I have organised the posts by the most popular types of Tile and Stone. I also renovate other materials so if you’re looking for something else do get in touch as it’s highly likely we have the solution.

Popular requests include Ceramic Tile, Encaustic Cement, Fireplaces, Flagstone Pavers, Grout Cleaning, Limestone, Marble, Porcelain Tile, Quarry Tile, Sandstone, Slate, Terracotta Tile, Terrazzo Floors, Travertine, Victorian Flooring and Vinyl Floors.

Bathroom Grout Colouring After

Lancaster Grout Colouring

Grout Colouring a Ceramic Floor in Lancaster

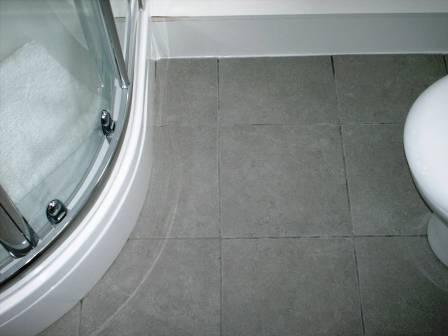
Here are some details of a small 4m2 Tile Cleaning and Grout Colouring job we did in a shower room in Lancaster. The tiles were recently laid and unfortunately the 5mm wide grout had discoloured because the tiler had used the same bucket to mix the adhesive with and some of the remnants from that had got into the grout mix. If the tiler had used a separate bucket this wouldn’t have happened. The tiler didn’t know what to do to rectify the problem so Tile Doctor got the call. He had done a good job on the rest of the bathroom and the customer didn’t want to upset him over it any further so she was quite happy to pay me to sort the problem out, as long as it didn’t look false.

Ceramic Tiled Bathroom floor before Grout Colouring
Before Grout Colouring

First I cleaned the grout with the pre-treater spray that comes with the kit and washed off the excess with water. Although the directions recommend leaving the grout to dry for 2 hours I left it for 30 minutes followed by a blast from my heat gun to dry any dark wet spots, this speeds up the process immensely.

Applying the Grout Colouring

Next I applied the Grout Colourant, fortunately the tiles were ceramic and the excess grout colourant came off the tiles very easily where I had got some on by accident. The kit came with a special white abrasive cloth which is excellent at removing excess grout colourant from the tiles. I often find unglazed tiles or stone and even some porcelain tiles are slightly porous on the surface and if the grout colourant gets on to these tiles then it can be quite hard to get off. I find it’s always best to do a test first on a couple of rows, if you get any on the tiles, don’t leave it on for more than 10 to 15 minutes as it sets very hard. Porous stones should always be sealed beforehand as it will make them a lot easier to clean. Its worth noting that the Grout Colourant acts as a barrier and so will never need to be sealed, it’s also completely washable.

Bathroom Grout Colouring After
Tiled Ceramic Floor after Grout Colouring

Grout Colouring a Ceramic Tiled Bathroom floor in Lancaster

Lancaster Grout Colouring Read More »

Victorian Floor restoration with Uri Geller

Uri Geller calls in Tile Doctor to Restore a Victorian Floor

Tile Doctor Tile Cleaning a Victorian floor for Uri Geller

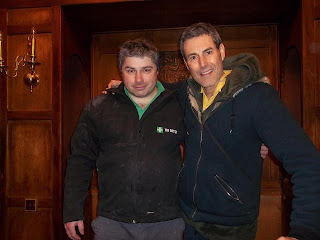
As a Designer Uri Geller invited Tile Doctor along to a House he has been asked to help out with using his own creative ideas, We gladly helped to refurbish the Old Victorian floor Tiles that are original to the house using great care and skill and replace some broken ones that have lifted over the Years.

He was so impressed with the results that he kindly provided the above Video Testimonial. While I was there he also bent my House Key, but unfortunately we couldn’t get this on camera due to his contract with Warner Bros, who am I to argue with that. I can say there was no trickery involved as I was as skeptical as anyone else out there, but he bent it using an index finger and holding the key on a flat floor and just rubbing it with his finger for about 5 seconds, very impressed, so it means quite something to me that he is impressed with my work as well.

Please note Tile Doctor don’t just cover Residential property and interior designers we also provide Tile Cleaning services to facility managers, general contractors, as well as the numerous tile contractors and cleaning companies that use our services and products everyday. Unlike other tile cleaning companies we cover a broad ranges of tiled surfaces including Ceramic, Granite, Limestone, Marble, Porcelain, Quarry, Sandstone, Slate, Terracotta And Victorian Floor Tiles.

Victorian Floor Tile Cleaning Specialists

Victorian Floor restoration with Uri Geller Read More »
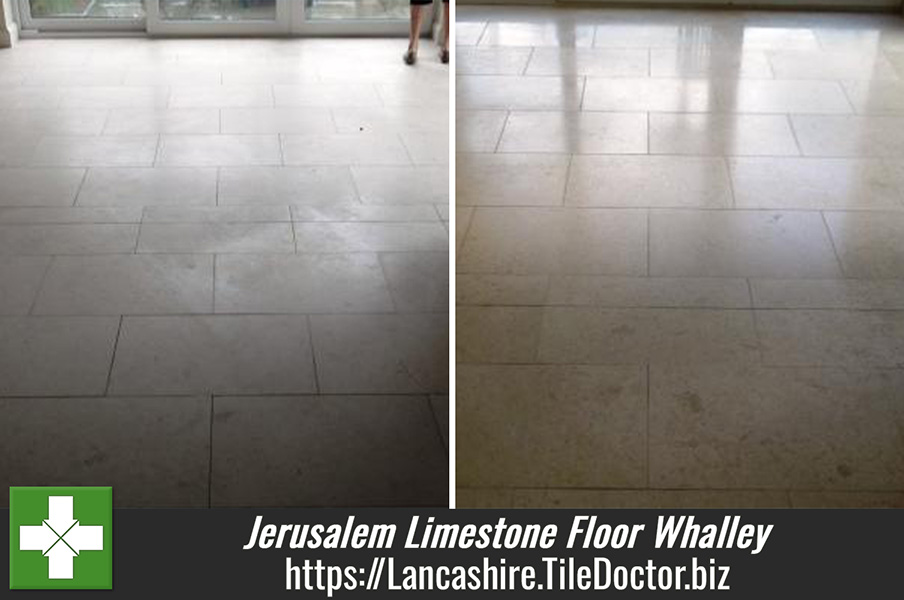
Jerusalem Limestone Floor After Cleaning by Tile Doctor Lancashire

Jerusalem Limestone Floor in Whalley, Lancashire

Few pictures below of a Jerusalem Limestone Floor refresh that we did in Whalley, Lancashire; hopefully you can see the improvement in the photographs.

The first photograph below shows a crack in one of the Limestone floor tiles.

Jerusalem Limestone before and after repair by Tile Doctor Lancashire
Jerusalem Limestone Before and after Repair

To repair the crack we applied Mapei Ultra-Color thinly grained Grout using the Jasmine 130 colour and spread on the Tiles, polished off with a sponge and then allowed to dry.

Jerusalem Limestone Floor Before Cleaning by Tile Doctor Lancashire
Jerusalem Limestone Floor Before Cleaning

To polish the floor we used a Green Burnishing Pad and then sealed using Tile Doctor Colour Grow which is a colour intensifying sealer that provides durable surface protection as well as allowing the surface to breath.

Jerusalem Limestone Floor After Cleaning by Tile Doctor Lancashire
Jerusalem Limestone Floor After Cleaning

Needless to say the customer was very pleased with the results

Jerusalem Limestone Floor in Whalley, Lancashire Read More »

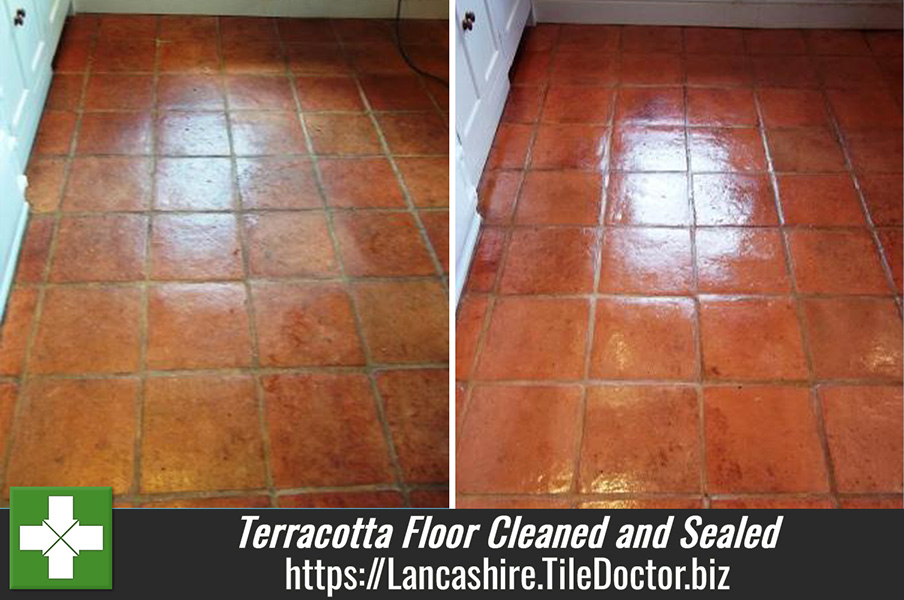
Terracotta Floor After Cleaning and Sealing

Terracotta Floor Cleaned and Sealed

Terracotta Tiles cleaned With Tile Doctor Pro-clean and 2 Black Buffing pads, there were some awkward stains in corners and such so I used Remove and Go and some Nano-scrub cleaner on these, but only after they had been pre-wetted first otherwise Remove and Go is hard to get out of the clay.

Terracotta Floor Before Cleaning and Sealing

Lots of Rinsing with water, left to dry overnight and came back the next day to Seal, turned the heating up, opened a couple of small windows front and back to allow for some Airflow and then started to apply 9 coats of Seal and Go with a Paint pad, this took all day, so quite a bit of waiting around, good time to catch up on my paperwork in the van in between sealer drying times.

Terracotta Floor After Cleaning and Sealing


Terracotta Floor Cleaned and Sealed Read More »

Restored Victorian Floor

Victorian Floor Restoration

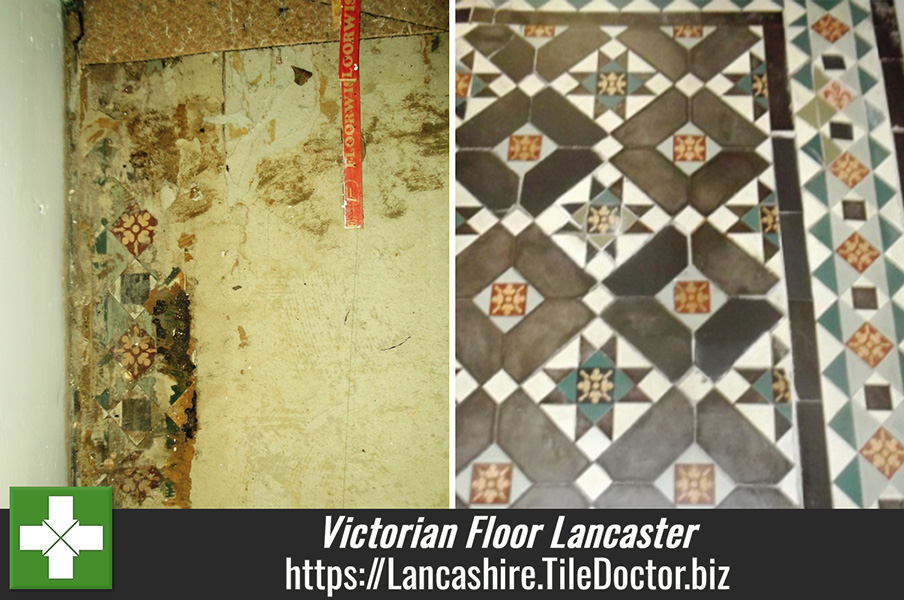
You can see from the pictures, the floor had been covered first old plastic vinyl which had been glued down with a strong adhesive and then later with a carpet.

Victorian Floor Covered in Carpet and Lino

The customer had tried removing the vinyl themselves to reveal the real floor but gave up after eight hours and called in Tile Doctor.

Removing the Vinyl was arduous work and care was required not to damage the floor underneath. Naturally we managed and then had to contend with the rubber matting that the vinyl was stuck to and this proved to be even harder to lift.

Removing the Lino glued to a Victorian Floor

To remove the rubber matting and adhesive the whole floor had to be covered with a special product that breaks down the glue.  Once the rubber had been disposed of we got down to cleaning the floor and removed any remaining stubborn marks.

Victorian Floor Revealed

The revealed floor looked dull so we then sealed it using Tile Doctor Seal and Go which really brought out the colour.

Restored Victorian Floor

As you can see from the comment below the customer was ecstatic with the result.

“Just got the second e-mail with the photos – they are great and really show how much hard work went into the job.  As I said we did get several “Tile Experts” in to look at the job and they wouldn’t touch the lino, so well done done and many thanks again – would definately recommend you to prospective customers.  Regards John.”

Victorian Floor Restoration Read More »

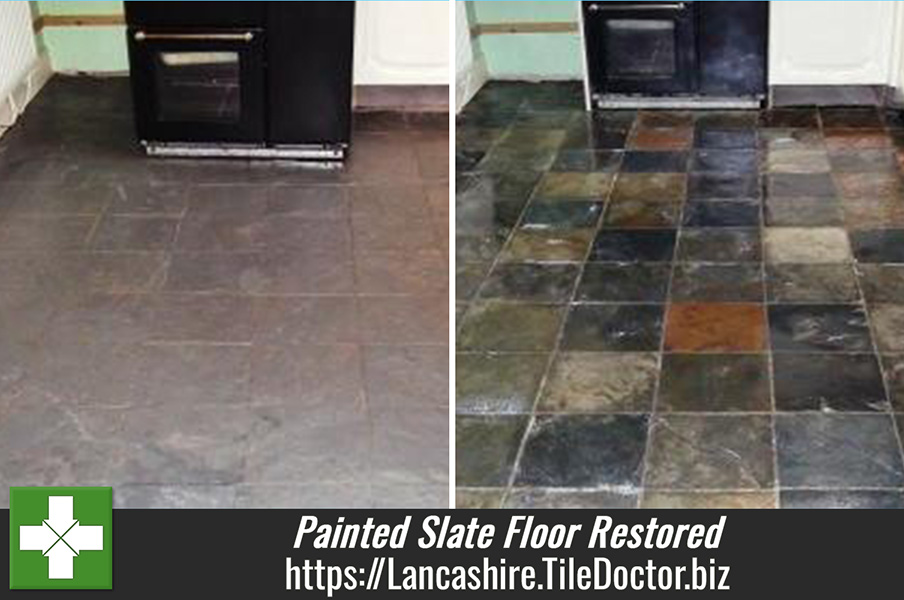
Kitchen Slate Floor After Restoration

Painted Slate Floor Restored

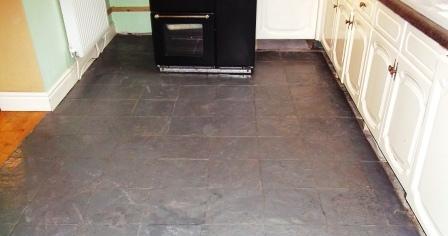
Recently restored a Slate floor in a kitchen which was covered in paint, grout haze and cement.  The answer was to mill the slate which got rid of the paint and the roughness of the slate and 90%of the Grout haze.

Painted Slate Floor before Restoration
Painted Slate Floor before Restoration by Tile Doctor Lancashire

We used Tile Doctor Grout Clean-Up to remove the remaining grout haze, rinsed the tiles down with water and then left them to dry overnight.   Once dry (the next day) we applied 5 coats of Tile Doctor seal and Go, which gave them a sheen and lifted the deep colour in the Slate, which had not been diversely afftected by the use of the Milling pads but instead help to lift the colour out of the Slate instead, this system works equally well with Sandstone.

Kitchen Slate Floor After Restoration


Painted Slate Floor Restored Read More »

=================================

Lancashire Tile Doctor

================================= Read More »

Scroll to Top